Halo Wars 2 - Operation Spearbreaker Walkthrough
by Team Respawn· ~12 min read· Updated
Operation Spearbreaker is a two-mission Halo Wars 2 DLC campaign starring Sergeant Johnson and an ODST fireteam. This walkthrough covers a Heroic co-op run with strategies for Gatecrashers and Not on My Watch — beam dodging, economy on power nodes, and the timed finale push. If you have not cleared the main campaign yet, start with our full campaign walkthrough for shared beam-dodge fundamentals.
General Observations
- Leaders: You play as Johnson with ODST-focused leader powers rather than a standard UNSC hero roster.
- Map familiarity: Mission 1 layout closely resembles the multiplayer map Mirage — useful if you already know lane control there (see our map tier list).
- Beam spam returns: Like the main HW2 campaign, random beams can delete units with little warning. Split groups and do not AFK during cutscenes — the game does not pause.
- Co-op: Leader powers are per-player; population is shared. Coordinate who holds defense while the other expands.
- Difficulty: Heroic is punishing; Legendary adds more beam frequency. Normal is a fair first clear if Heroic becomes frustrating.
Mission 1 — Gatecrashers
Defend UNSC positions while capturing and holding control towers across the map. Banished waves hit from multiple directions while you secure power nodes for sustained income.
Objectives
- Capture and hold control towers to progress the mission.
- Defend your main base and any mini-bases you claim.
- Secure power nodes — they provide continuous power income and are worth fighting for early.
Key Units and Leader Powers
- ODST Squad: Signature Spearbreaker unit with a support drone (laser + EMP-style utility similar to Johnson's kit in multiplayer).
- Hellbringer Squads: Available early — strong vs infantry clusters and Hunters.
- Wolverines: Essential once Banished air appears; keep a mixed group near your base.
- Leader powers: Holographic Decoy, Scatterbomb, and Bunker Drops — each player has their own cooldowns.
Strategy Tips
- Drop bunkers on chokepoints before pushing the next tower — beams will punish exposed armies.
- Upgrade supply pads when power allows; generators on mini-bases are high value if you can hold them.
- Keep Restoration Drones or Nightingale support near your main push — Marines self-heal under drone coverage.
- Mini-bases can be destroyed quickly; do not over-invest in a forward base you cannot defend.
- Split units before crossing open ground — one beam should not wipe your entire army. See advanced movement and splitting for multiplayer-ready micro.
Mission 2 — Not on My Watch
A 15-minute timed finale: a Forerunner ship will launch unless you destroy Banished strongholds and clear the map fast enough. Economy snowballs if you stall early.
Objectives
- Beat the countdown — treat every minute as lost production time.
- Destroy enemy production buildings and clear fortified positions.
- Protect high-value units (especially Grizzlies) from beams and air raids.
Key Units
- Grizzly Tanks: Core damage dealers — never let them wander alone.
- Colossus: Johnson leader drop — treat it like a temporary super-unit and protect the landing zone.
- Nightingale: Rescue and keep mobile; healing under beam pressure is critical.
- Combat Tech Marines + Hornets: Answer Banished air before it deletes your armor ball.
Strategy Tips
- Save Grizzly Battalion for a fortified choke or Retriever encounter — do not drop it into open beams.
- Build redundant bases when possible; losing one production line with 8 minutes left is brutal.
- Prioritize Tech 3 and vehicle depot upgrades — infantry alone will not clock the timer.
- Scatterbombs on clumped Banished units; holograms to draw turret fire while Grizzlies advance.
- Retriever Sentinels are priority targets — focus fire with Wolverines and air before they melt your armor.
- Supply crates scattered on the map are free tempo; path troops near them when rotating objectives.
General Tips
Unit Management
- Units gain veterancy in combat, not while moving — pause pushes briefly to let frontline units rank up when safe.
- Micro beams: pull wounded units back, split squads, and use decoys to absorb random beam RNG.
- Transfer units between co-op partners if one player is defending and the other is attacking.
Compared to Main Campaign
- Only two missions, but density is high — less map variety than the full Ark campaign, more focused on UNSC fireteam fantasy.
- Beam frequency remains the main frustration on Heroic/Legendary; Halo Wars 1 campaign difficulty is generally considered more consistent.
- Worth playing if you enjoy Johnson/ODST flavor or want a shorter co-op challenge before Awakening the Nightmare.
More on Halo Wars 2
Related by topic — chronological neighbors are below.

Sergeant Johnson Halo Wars 2 beginner's guide: bunker openers, Digging In siphon turrets, the Mantis-into-Colossus mech ball, Mech Overcharge, and Digging in Deep economy.
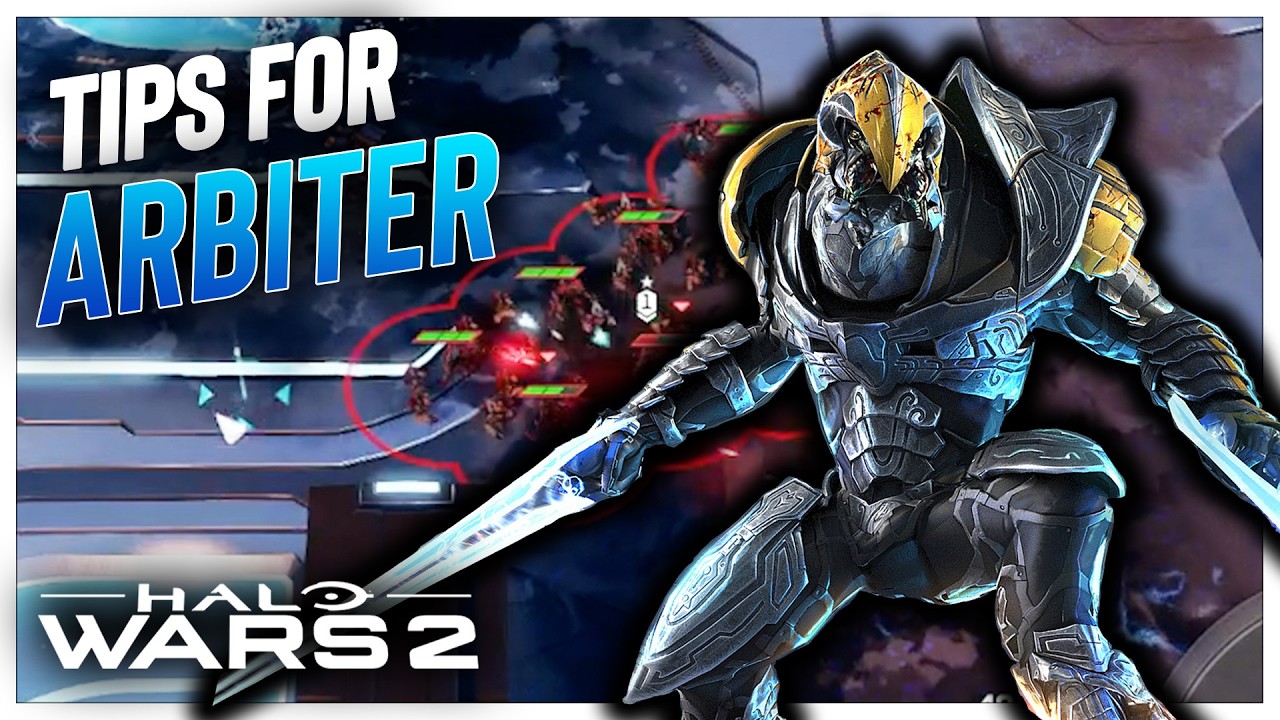
Learn how to play as The Arbiter in Halo Wars 2.

Learn how to play as Jerome in Halo Wars 2.
Explore Team Respawn
About the Author